Instructions: How to Sell on Amazon

How can you sell on Amazon? It is easy if you follow these step by step instructions:
Step 1: Account Setup
Go here to create an account with Amazon: http://services.amazon.com/content/sell-on-amazon.htm
Amazon currently offers two types of accounts: Individual and Professional. (If you are a TrueCommerce Nexternal merchant, choose Professional). Professional accounts are $39.99/month plus selling fees, while Individual accounts are $0.99 per sale plus selling fees.
Next, you have the option of attaching your seller account to an existing Amazon account, or creating a new one. In this example, we are setting up a brand new account.
Fill in your personal and business information. Be sure to click the Agreement box at the bottom.
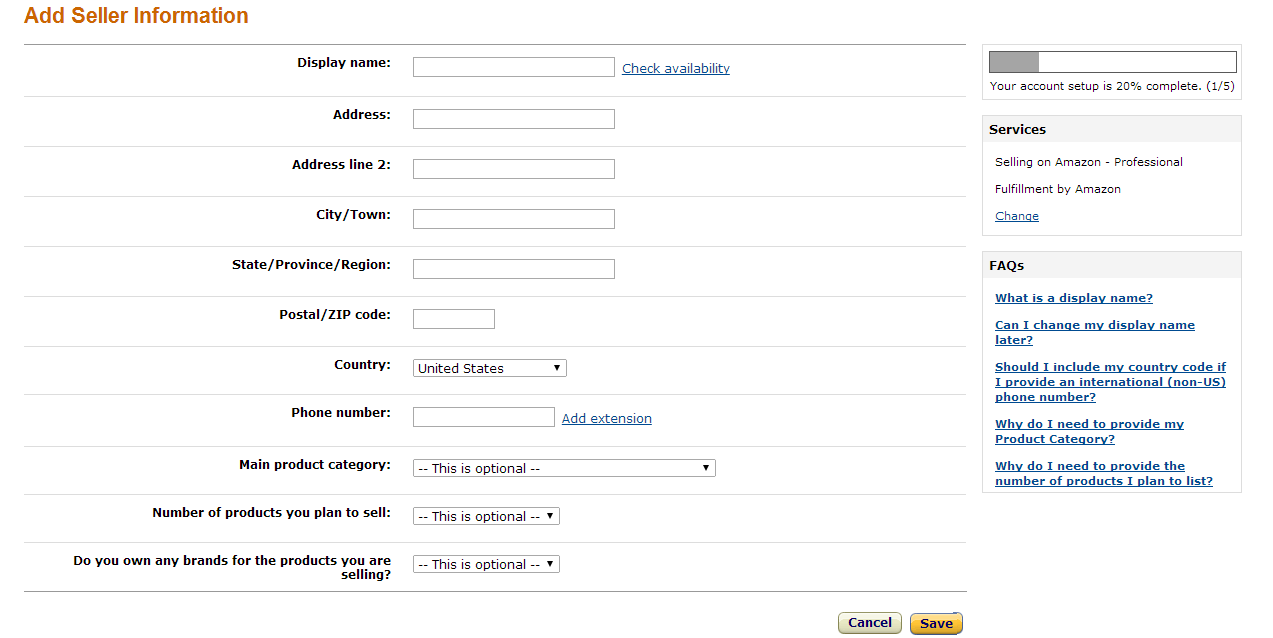
After submitting that page, your basic registration is complete. You need to complete the following page with more seller information details. Select your display name, and you can click the link to verify that the display name is not already taken by another user. Complete the address information. There are three optional fields at the bottom. Main product category, number of products you plan to sell, and whether or not you own any brands of the products you are selling. Click save to submit.
Next, you’ll be asked to enter some credit card information. Amazon will bill your card to verify your identity and the validity of the card.
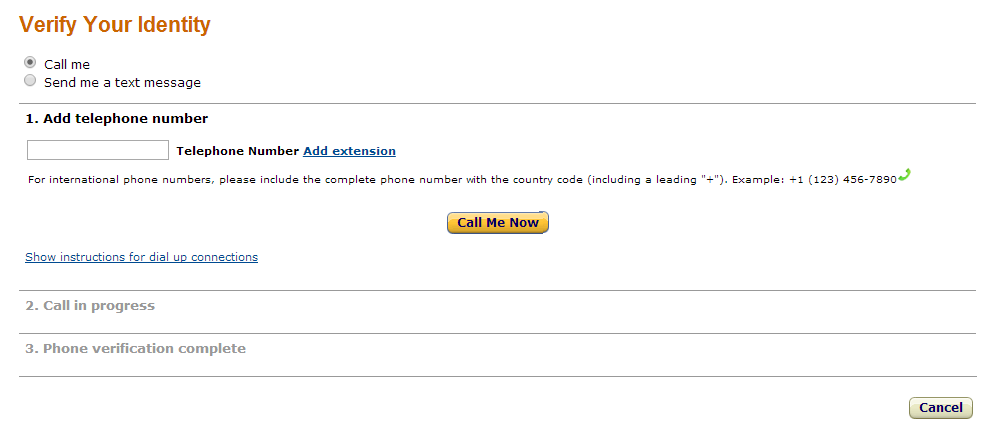
Next, Amazon will verify your identity via a phone call or text message. This verification is instant. If you choose text, the code will be texted to you. A new field opens on the screen, where you can enter your pin number that was just sent to you. Click verify pin.
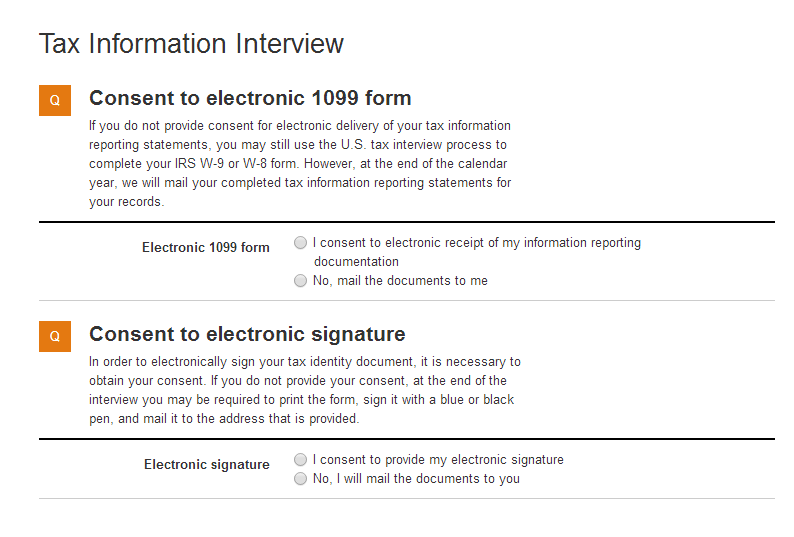
Finally, you’ll be asked to complete some tax information. Click “Launch Interview Wizard” to start.
First, you are asked whether or not you are a US Citizen. If you choose yes, you should be able to click save and continue.
Provide information about yourself or your business.

Next, provide your SSN, ITIN or EIN. Be sure to use the proper format with dashes (as indicated).
Next, you are provided with a completed W9, based on your previous responses. Review the information and click Save and Continue.
Next, there are some important statements to read and agree to under penalty of perjury.
Electronically sign and submit your form. Now your IRS form is submitted and needs to be evaluated. Click “Exit Interview”.
Your account setup is complete!
Click the button at the top that says “Complete Registration”.
Step 2: Add Your Products
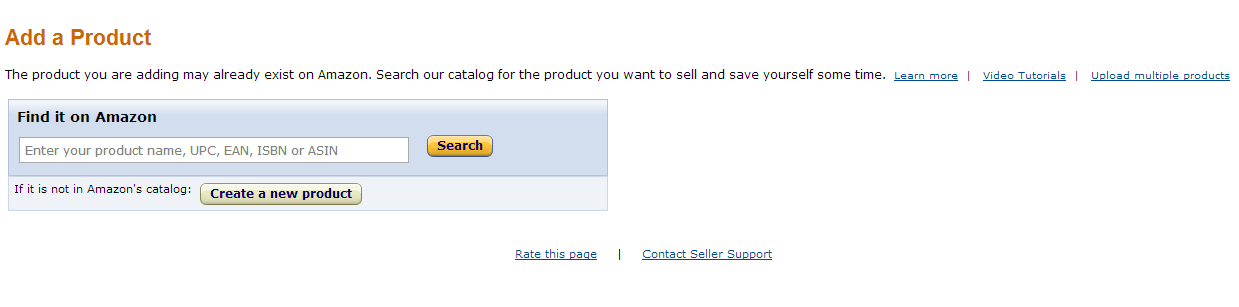
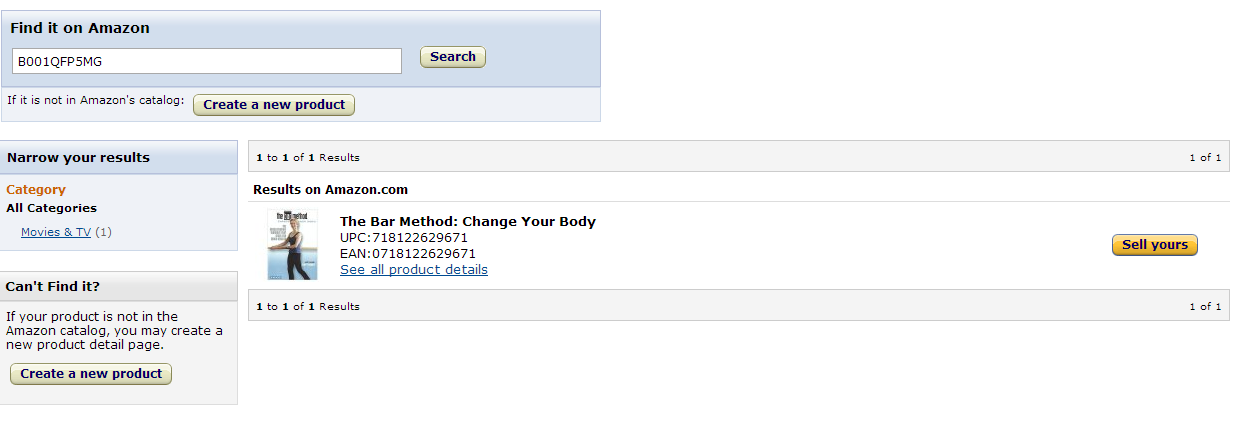
You’ll be directed into Seller Central, where you can now add a product. You must first see whether or not someone is already selling the product on Amazon. (If someone is not already selling the product on Amazon, skip down to Section B of this document.) If you know the UPC, EAN, ISBN, or ASIN, you may enter it in the box. If you don’t know, but you think your product is already for sale on Amazon, you might open a new browser tab and search for it. Once you’ve found your product, scroll down to the product details section. There you may obtain the ASIN number (which is the best number to use when setting up on Amazon).
Section A: If a product already Exists
Go back into Seller Central and enter the ASIN. Amazon will find your product. Click the “Sell Yours” button.
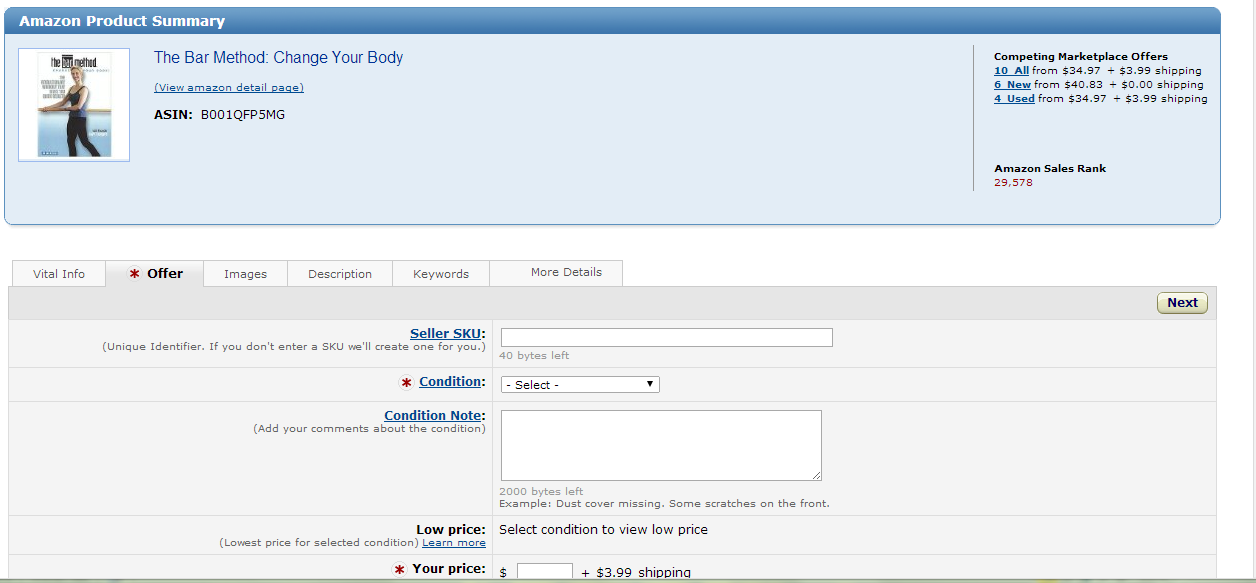
Next, you will enter details of your product.
Choose the condition of your product, and you may enter a condition note.
You have the option to add up to 6 photos, which will be display on the “More Buying Choices” page.
For your convenience, Amazon shows you the lowest price of the product matching your selected condition. Enter your price in the appropriate box. You may also opt to include a sale price. If you choose to do this, enter a start and stop date for the sale. Enter the quantity that you would like to list of this exact product, in this condition and price.
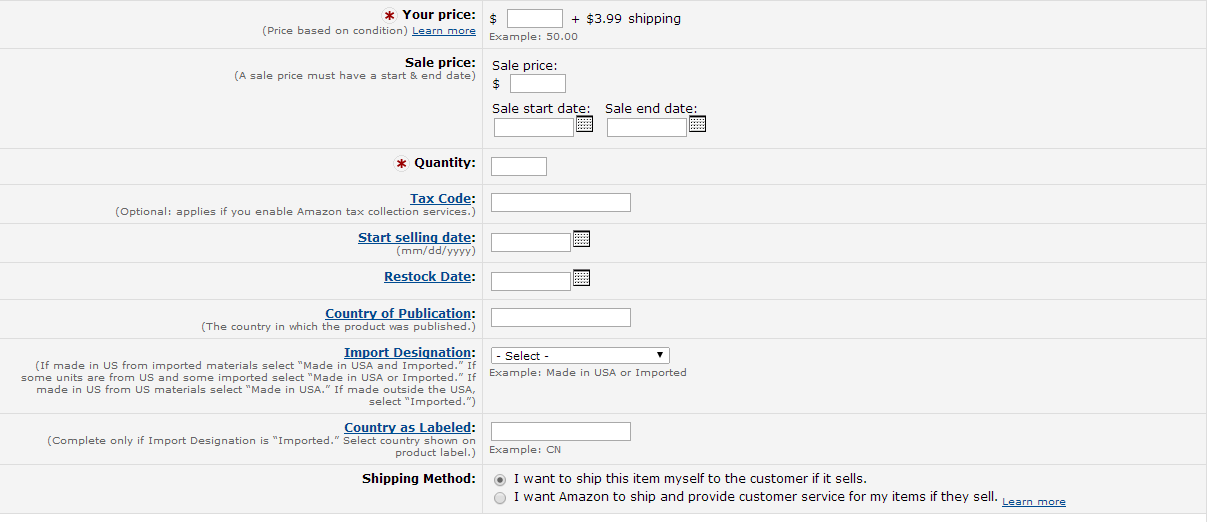
You then have the option to enter a tax code. This is used to determine when and how tax is applied to a product in a given state. Click the blue link there for more information.
Enter your “Start Selling Date”.
If you have backordered items, enter a date in which you will be able to ship backordered items.
There are a few additional optional fields at the bottom to complete.
Next, complete the shipping options.
First, decide if you would like to ship items yourself, or if you would like Amazon to provide customer service for and ship your items for you (known as Fulfillment by Amazon). If you choose Fulfillment by Amazon, your product will be available when Amazon receives it. Make your choice and Click “Save and Finish”.
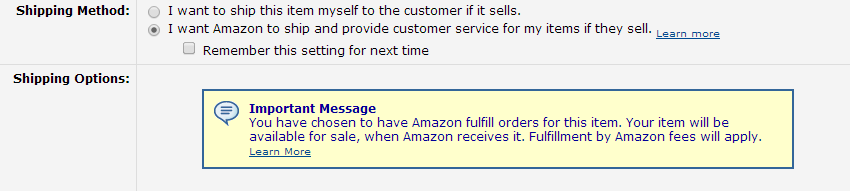
If you choose Fulfillment by Amazon:
On the next page, you’ll be asked to set your Fulfillment by Amazon label preferences. Read these thoroughly and make your selections.
If you choose to ship yourself:
You will need to complete the final section of shipping options. Amazon dictates what you will be reimbursed for shipping, based on your product category for that item, and the option chosen by the buyer. The seller is responsible for shipping the item even if the shipping reimbursement does not cover the shipping costs. Click on the “Shipping Credit” link for more information about shipping guidelines, including timeframe within which the customer must receive the goods for each shipping option.
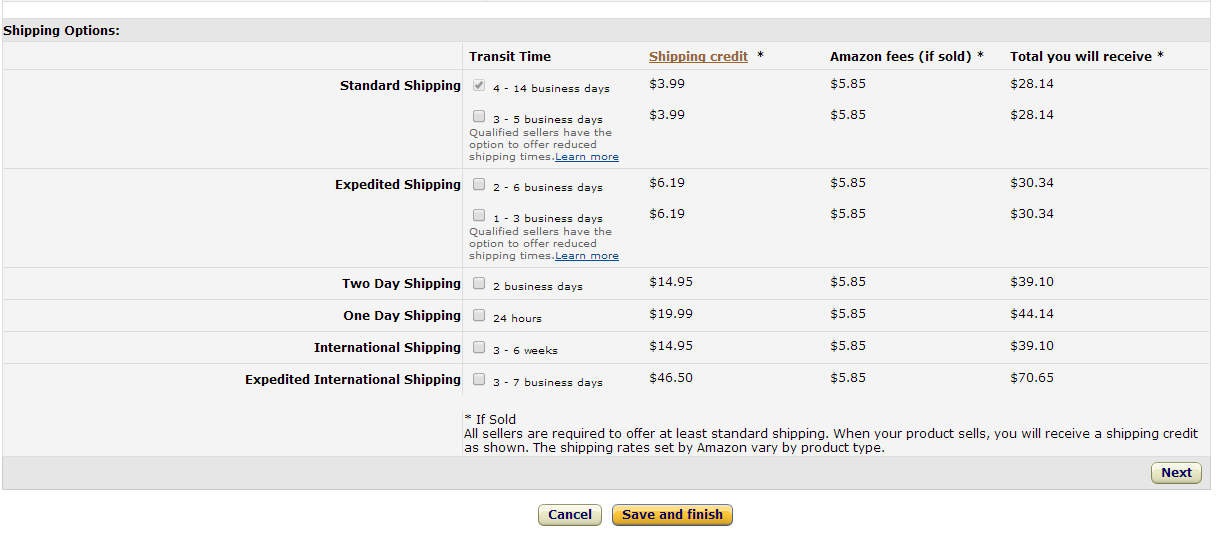
Select the options you wish to offer. Some options may be grayed out/ unavailable.
Click next.
If you are using an existing ASIN for a product already listed on Amazon, click “Save and Finish”. You product should be listed!
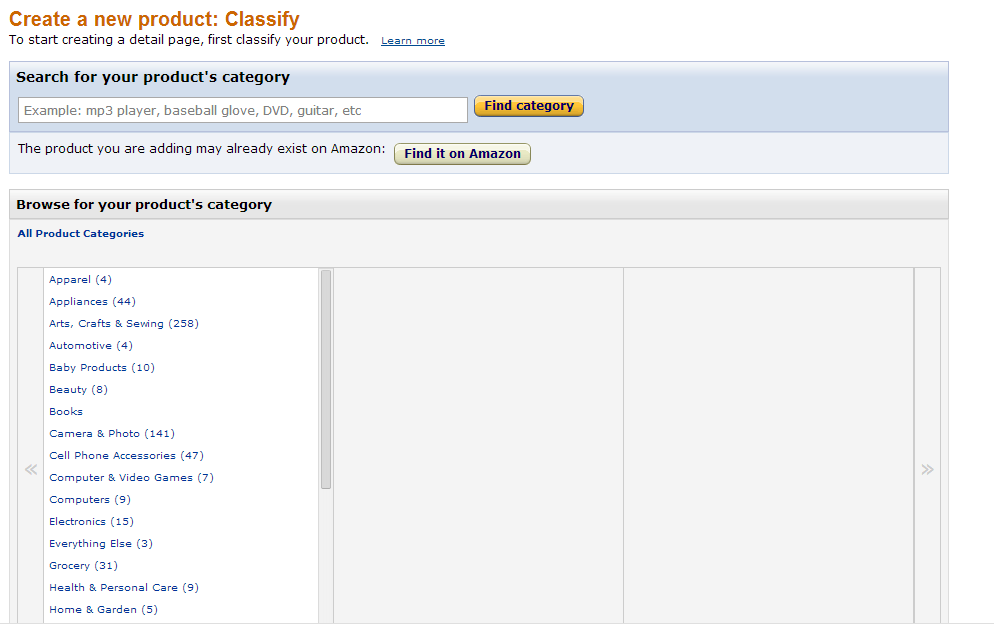
Section B: If you are creating a new product listing
You’ll first need to classify your product into a category. You can either browse through a list of Amazon’s categories, or use the search box to describe your product. You may need to do this a few times to get the category you want.
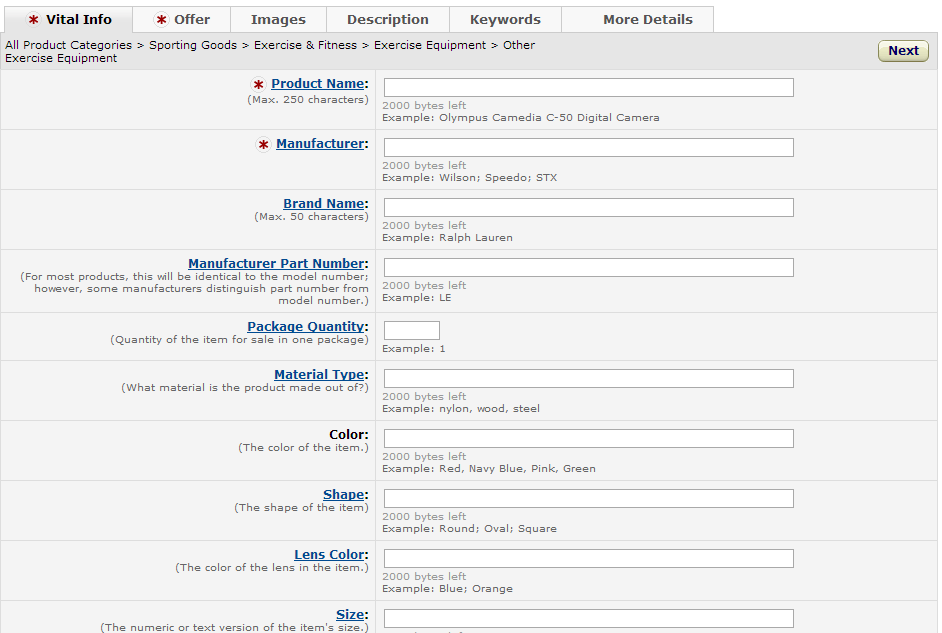
Once you select your category, the next page will give you a long list of fields. Enter as much information as is relevant to your product. Many fields will not apply, so use your judgment.
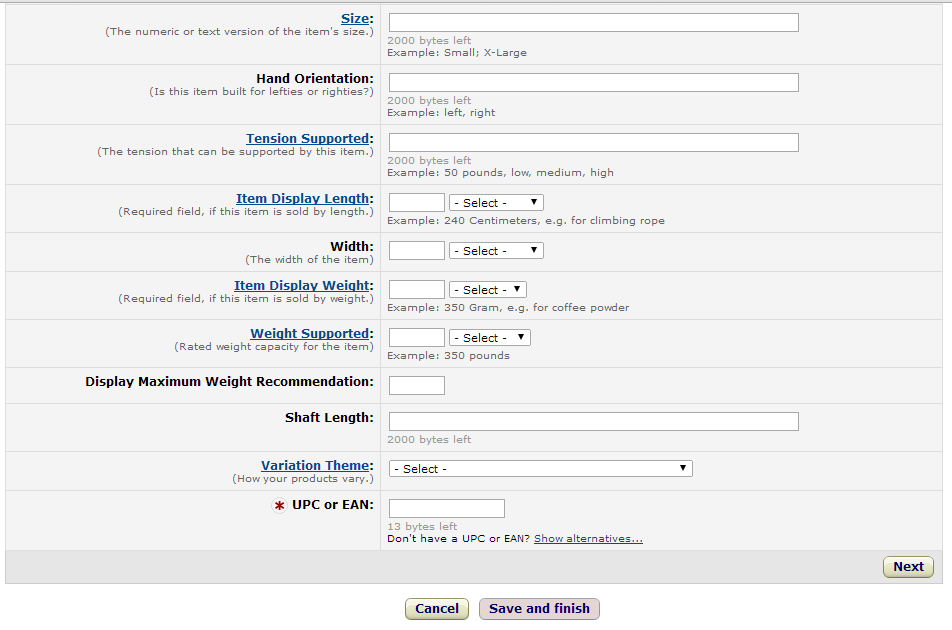
The last item is Variation Theme. If your product varies in size, color, width, etc, this is where you indicate that there are variances in your offering. If there are no variances, enter the required UPC code or EAN.
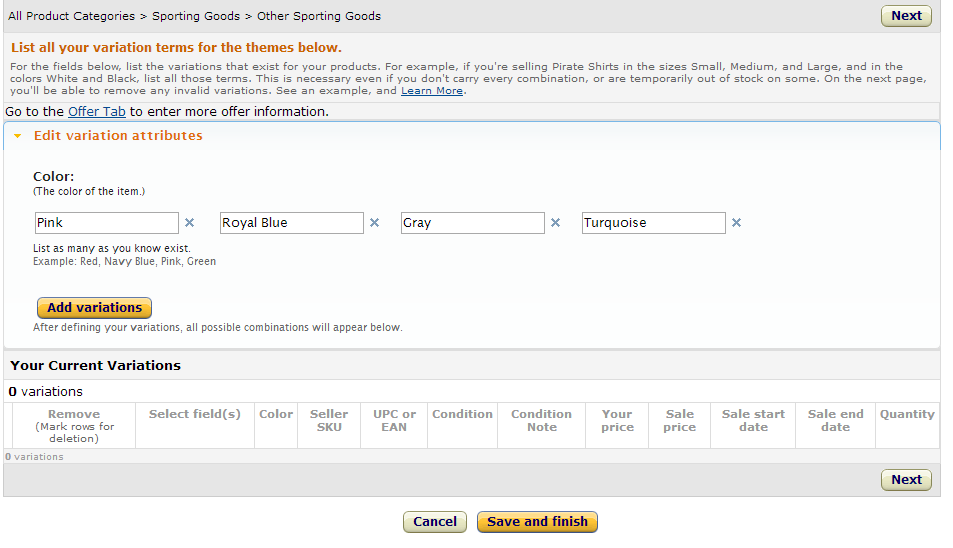
If you have variations (such as size, color, etc.), select your variation and click next.
On the following page, you will enter details of your variations. After entering each variation, open the variations matrix at the bottom of the screen. You’ll need to enter the condition and price of each product. Other options are available for each variation. Items with an asterisk are required. If you click the select field(s) boxes, you can apply changes to multiple variations at once. For example, to make all of the variations’ conditions “new”, click the top box in Select Fiel(s). Instantly, all variations are selected. In the “Condition” section at the top, change the dropdown to “New” and click “Apply to Selected”. All variations’ conditions becomes new. *Be sure to add a unique UPC or EIN to each prouct. When finished, Click next.
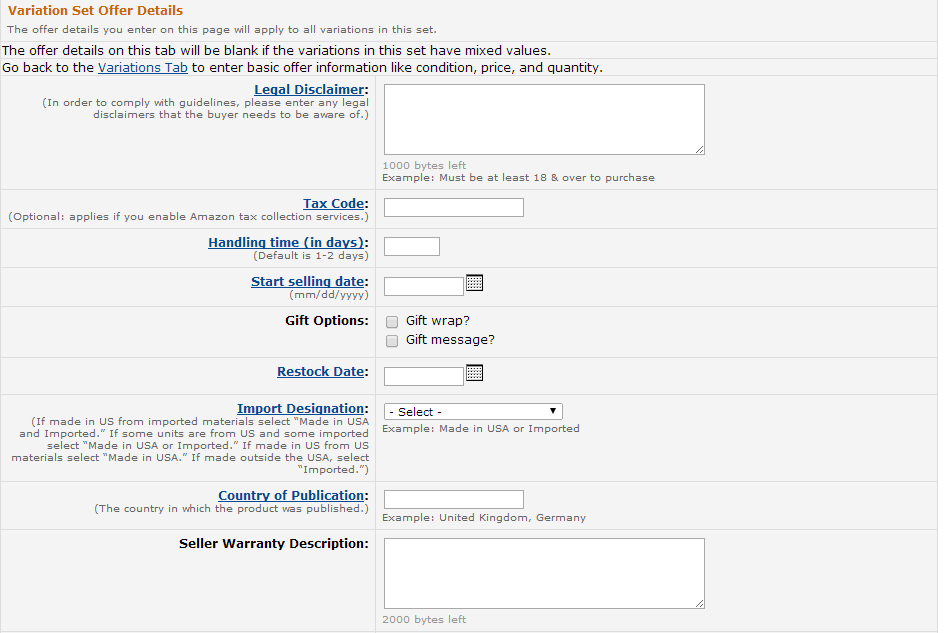
Next, you’ll be directed to the Offer tab. In this section, you may indicate a legal disclaimer, tax code, handling time (in days), selling date, gift wrapping and gift messaging options, country of origin, warranty description, etc. Most fields are not required. At the bottom of the page, indicate whether or not you will be shipping the item, or if Amazon will be filling the order.
Next, you will be directed to Images section. Your listing will not appear in search results until you add a qualified image. There are some guidelines: The product must fill 85% of the image area. There can be no props or other items not for sale in the image. Images must have a pure white background. They must be at least 1000 x 500 to be zoomable. Click “Add Images” to browse for your image and upload it. Then click “Upload image”.
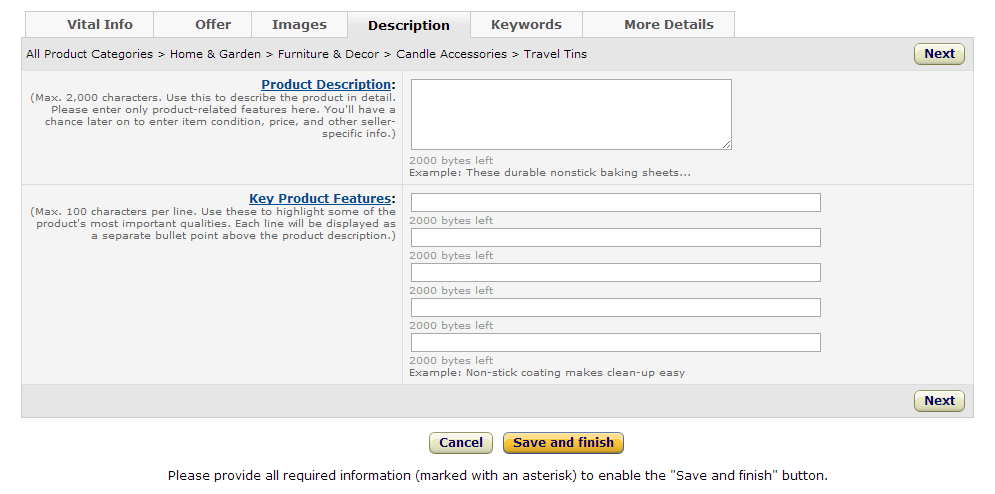
Click next. Now you should be on the description tab. Enter your product description details, and key features of the product. Product features will be displayed in a bulleted list above the product description. Each line can be a maximum of 100 characters. Click next.
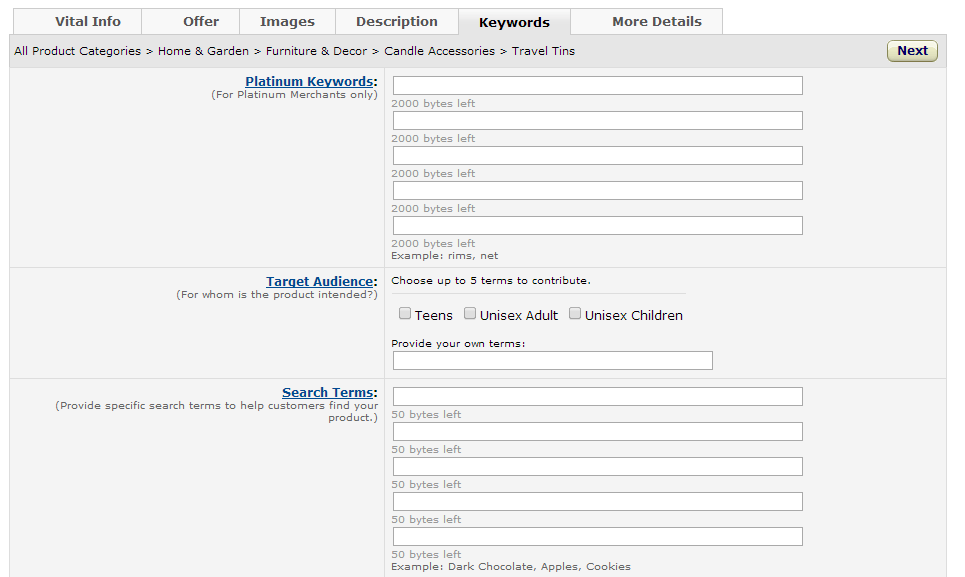
Next, there is a keyword section. Most fields are not required. Complete relevant fields and click next.
Finally, you will come to a very long screen where you may enter additional details. Required fields are marked with an asterisk. Click “Save and Finish”!
Step 3: Efficiently Process Orders
If you are a TrueCommerce Nexternal merchant, follow the instructions here to activate your store’s integration with Amazon! This allows you to automatically exchange product and order data between the two systems, manage inventory, synchronize pricing, decrease manual data entry, and sell more online! If you would like to learn more about TrueCommerce Nexternal’s Amazon integration, watch the video below or fill out the form to speak with a rep.
Amazon Marketplace Integration
1 minute, 43 seconds
